How can I set/allocate a static IP address for my Atria Mesh 2100 unit?
It can be interesting to set a static IP for you mesh controller to have an easier access to the Web UI on your network in the Atria Mesh app.
You can also allocate dedicated IP Addresses to the devices connected on your mesh network in the Web UI.
1 Case 1: Set up a static IP for the mesh controller in the Atria Mesh App
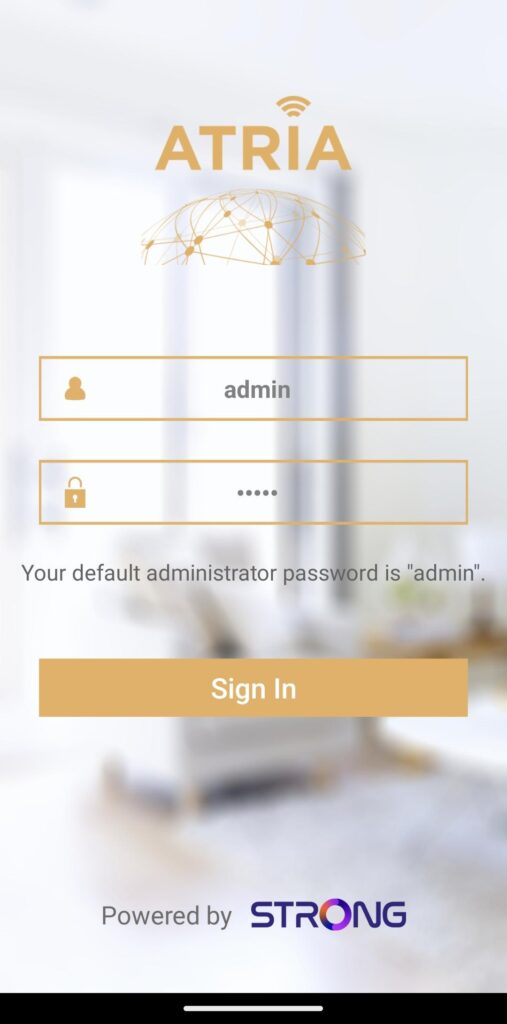
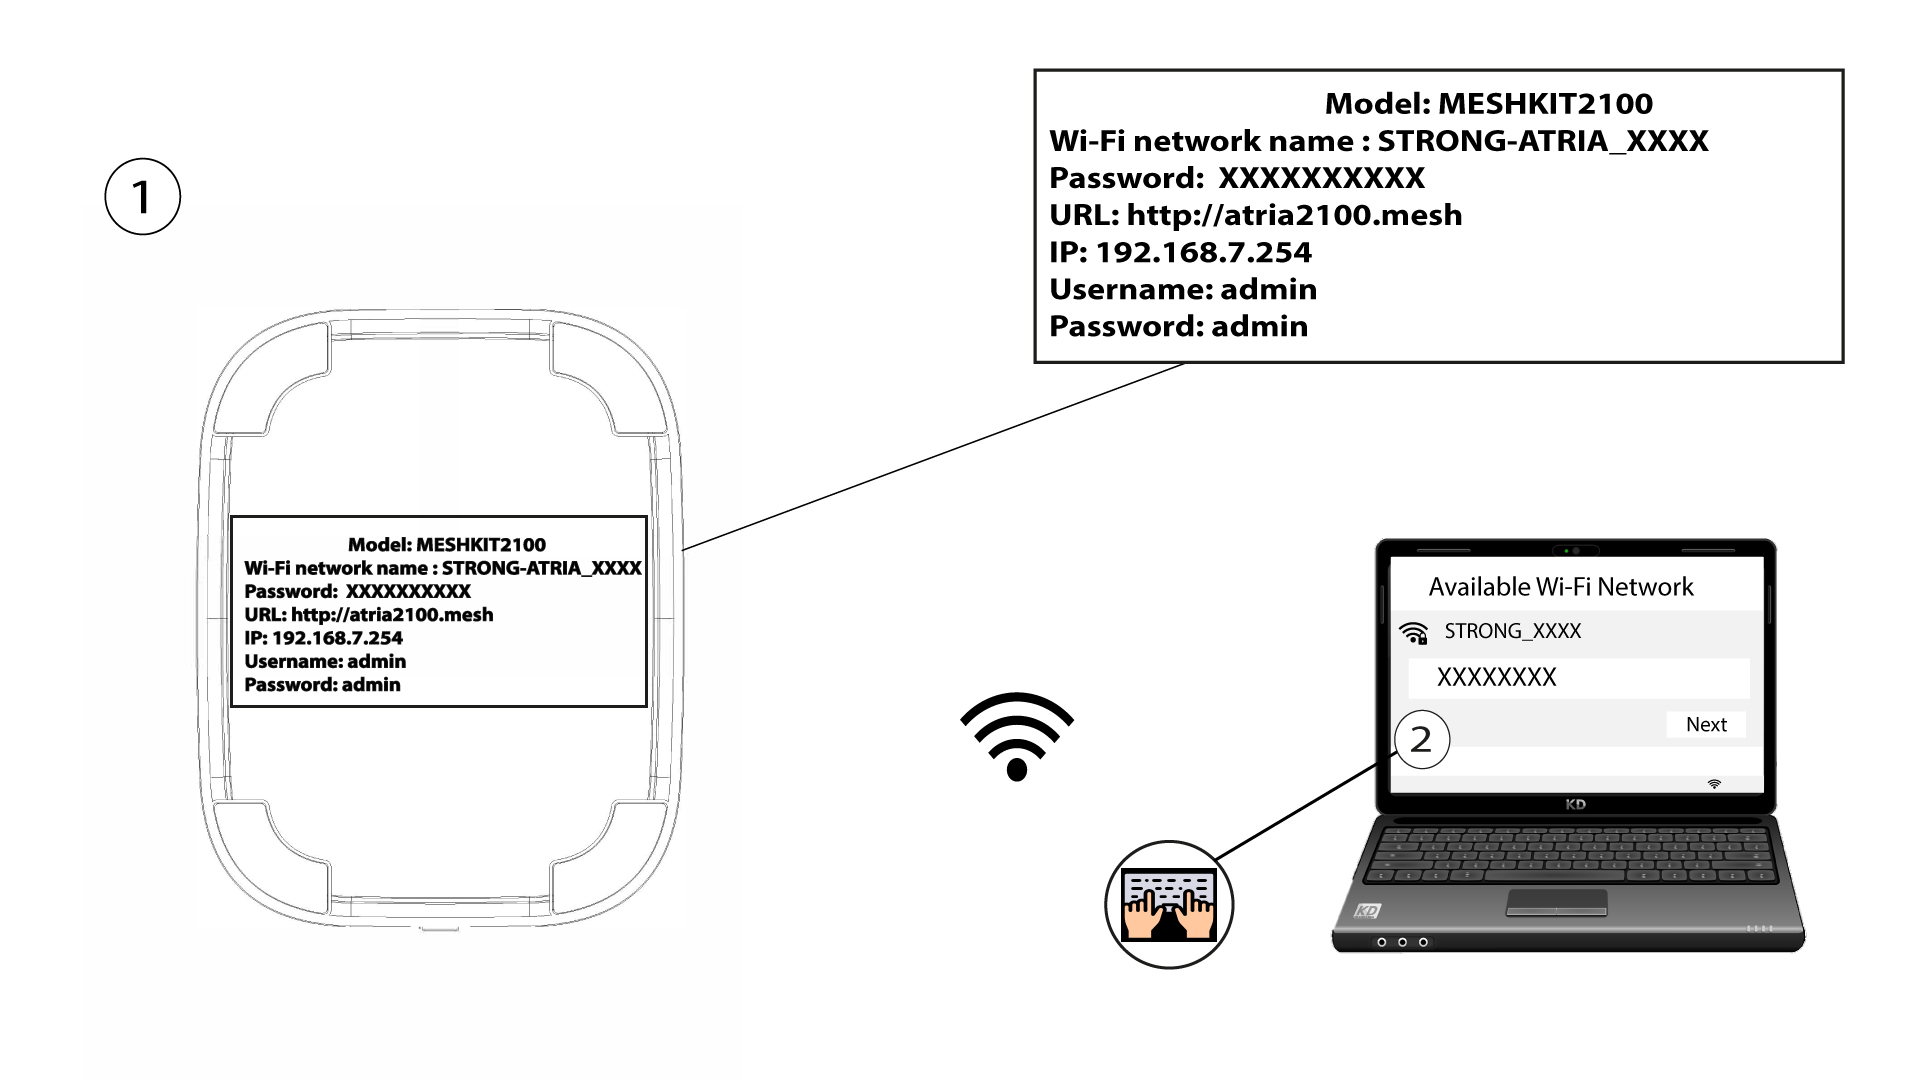
2 Connexion to the Wi-Fi
Connect to the Wi-Fi of your mesh unit.
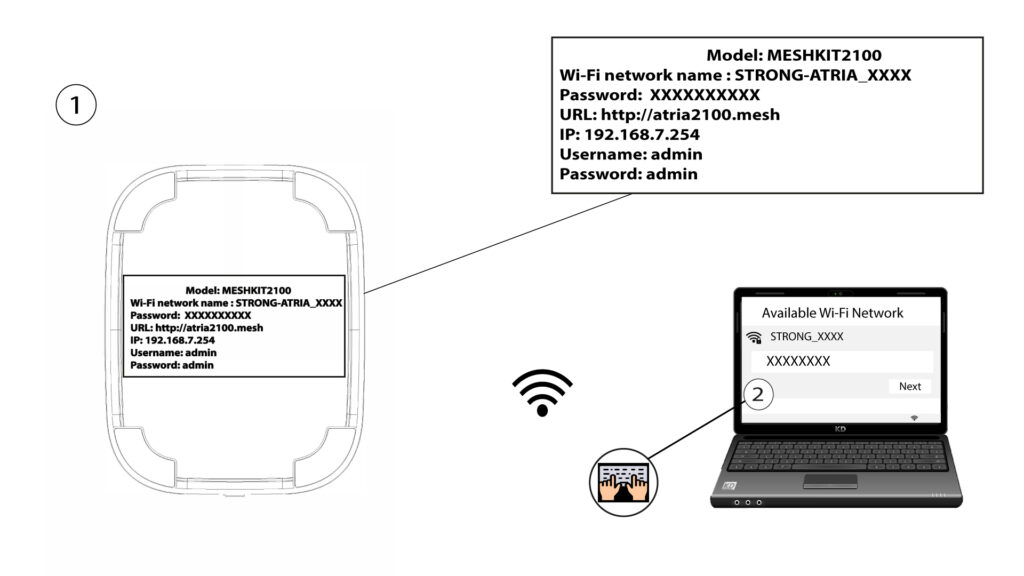
3 Credentials
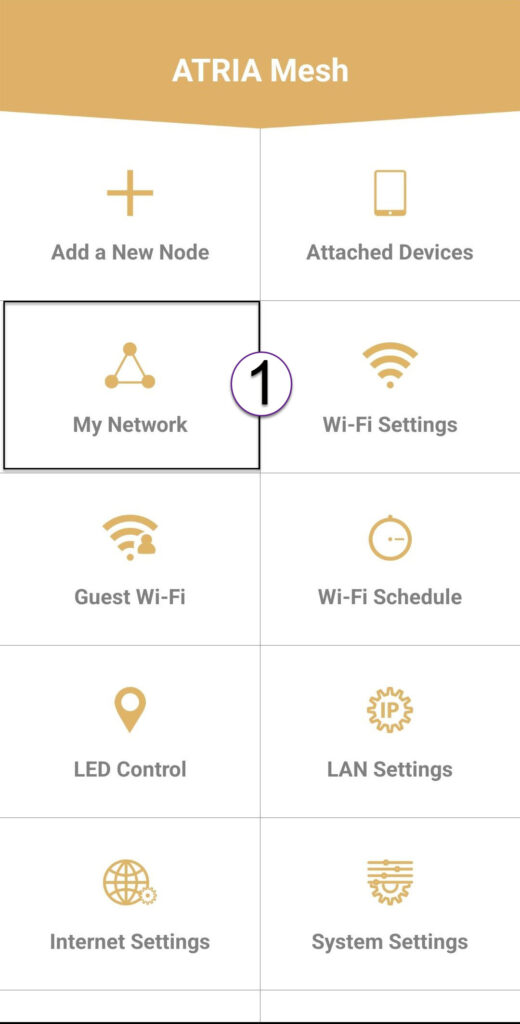
4 My Network
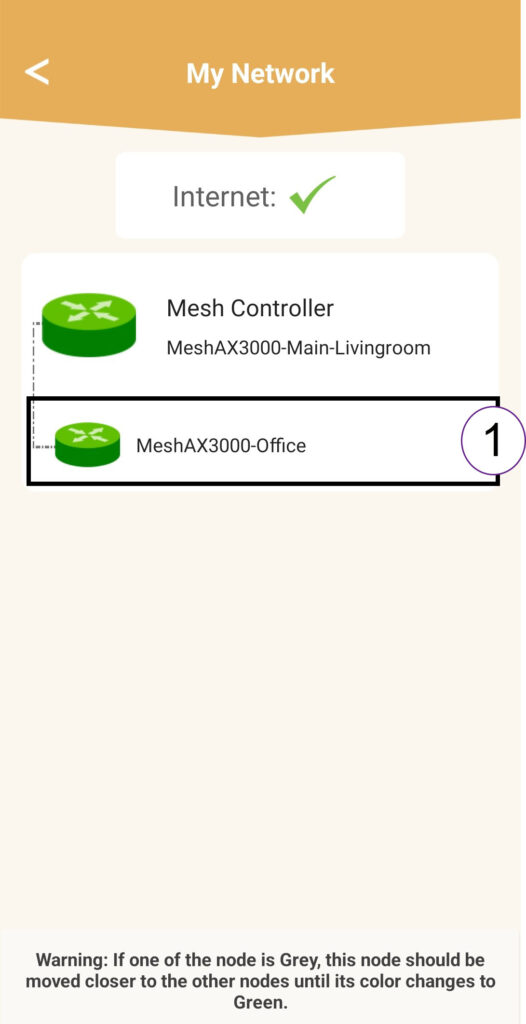
Click My Network.
5 Mesh Agent
Click the Name of the Mesh Agent in the list.
6 IP Address
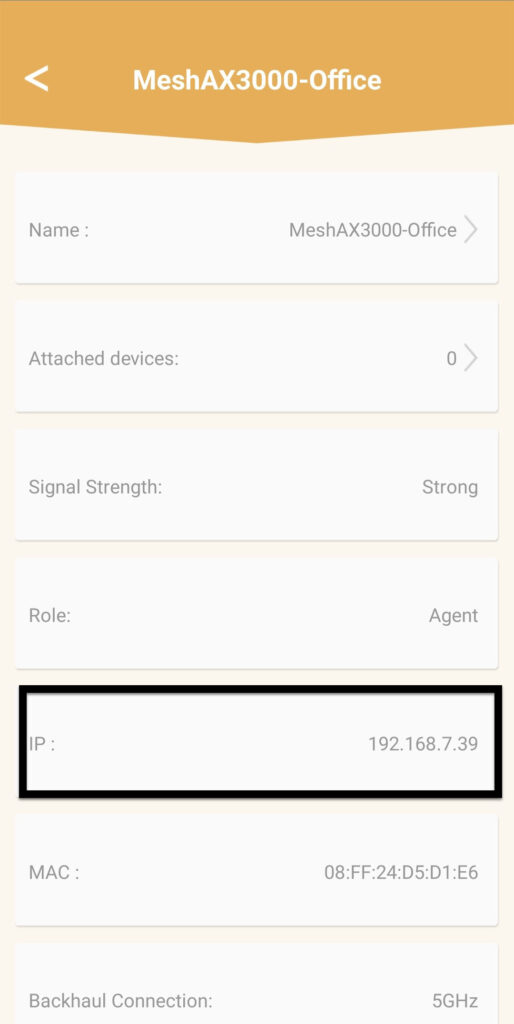
Identify its IP Address and MAC Address.
7 Write down the new information
Write down the IP Address and MAC Address.

8 Internet Settings
Click Internet Settings.

9 Static
Select Static IP. Enter the following information before clicking Save:
- IP: Enter the IP Address of the Agent
- Mask: The field is automatically populates with the appropriate value
- Gateway: The field is automatically populates with the appropriate value
- DNS1: Enter the primary DNS address (you can find this information in the Web UI : Network > LAN -> Enable Manual DNS)
- DNS2: Enter the secondary DNS address (you can find this information in the Web UI : Network > LAN -> Enable Manual DNS)

1 Case 2 : Allocate a dedicated IP address to your mesh agents/devices in the Web UI
3 LAN Info
Click Status and LAN Info. In the list displayed, identify the mesh unit, its name starts with Agent.

4 Write down the new information
Write down the IP Address and the MAC Address of the Agent.

5 Static IP
Click Network and LAN. Then, click Static IP.

6 Add IP Address & MAC Address
Enter the IP Address and MAC Address before clicking Add.


